Making A Momiji
We thought you might like to know a little bit more about how we make Momiji. Here's how I go about designing the dolls...

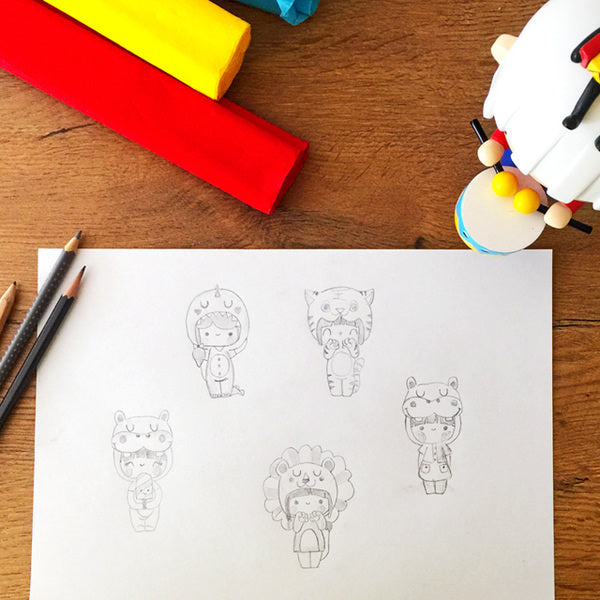
Step 1: Ideas & Sketches
Helena
“The design process kicks off with Claire and I talking about themes and looks that we’re liking at that time. We chat around the idea and usually settle on a direction for me to explore. Sometimes I jump straight on my laptop but generally I kick things off with pencil sketches; these help me develop the character and their personality.”

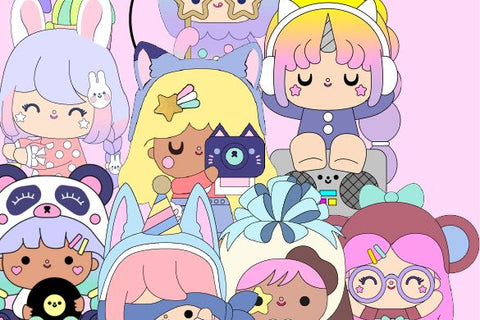
Step 2: Going Digital
Helena
“Next I’ll move onto my laptop. I draw Momiji in Adobe Illustrator. At this stage I’m still playing around with possibilities and ideas. As you can see from this photo, many of the concepts are quite diverse and I like to explore. I usually send a bunch of ideas over to Claire at this stage and we talk about our favourites and any changes we might make.”
Claire
“Emails from Helena with doll designs attached are always fun to open. I love seeing what she’s created. Usually, because she’s uber-modest these emails start with something like ‘I’m not sure if these are any good…’ and then when I open the attachments they are always so cool and cute. She’s so talented and inventive. She’ll often send over 5 different facial expressions per doll or the character will be in a variety of poses or outfits and we’ll decide on our favourite together. Generally we agree and make the same selection!
Seeing the dolls at this stage helps me to work on formulating the character and their personality. Each Momiji has its own sentence and things that they like so I create these, ready to go on the packaging.

Step 3: Additional views & choosing colours
Helena
“Sometimes the trickiest part can be drawing the doll from the side and the back but it’s important to get this right so the our sculptors know exactly how we want it to look. I also choose the colours at this point. I use my Pantone book and mark each one on the design. Sometimes we’ll sample a doll up in a couple of different colour options to see which works best.”
Claire
“At this point we’ll firm up the colours and brief the sculpting team. They get to work on turning Helena’s illustration into a 3D model.”


Step 4: Starting sculpting
Helena
“The sculptors usually spend about a week on a character. They are super-talented. It’s such an exciting part of the process. Sometimes we need to make corrections, it’s usually little things like aligning facial features and getting the expressions right.”
Claire
“To be honest seeing the dolls at this stage always makes me think we really ought to make some Chocolate Momiji!”

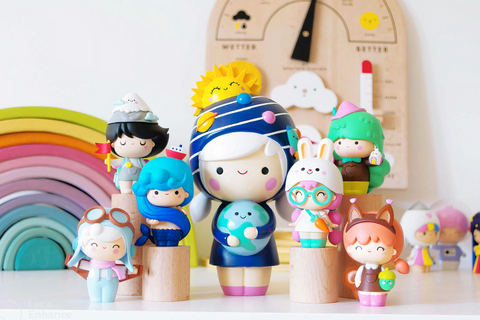
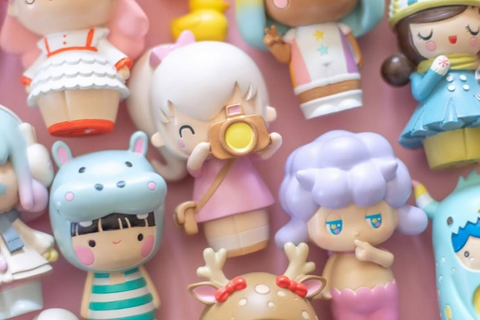
Step 5: Painted Momiji
Helena
“The painted sample is the next step. If we’ve sampled up a couple of colourways we’ll make a decision about which we should go with. Seeing them at this stage is when they come to life!”
Claire
“We enjoying working on the packaging. Our core Momiji dolls are always presented in one of our rainbow coloured tubes. For the limited edition dolls Helena creates beautiful patterned noodle boxes. I love how different they all are and our collectors often tell us how much they treasure the boxes. Unwrapping the doll is such a lovely part of the process.”

And that’s how we make a Momiji! We hope you enjoyed this little peak behind the scenes. If you'd like a Dina or Liona of your own, you'll find them here.